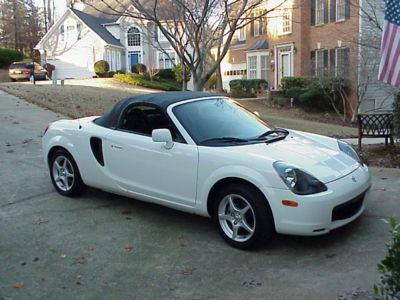
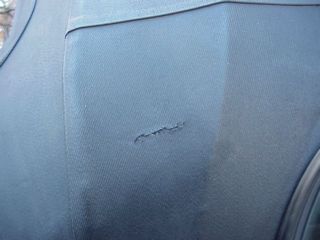
Our 2001 MR2 Spyder was purchased used from a dealer. The car was remarkably well cared for, with one glaring exception. A 2 inch tear in the roof above and behind the passenger door.


The dealer knocked an extra $500 off the price of the car toward a repair. However, I'm a DIY kinda guy. Tinkering and learning is fun. I decided to patch the inside with iron-on fabric to give some stability to the area, and use a vinyl repair kit for the exterior surface.
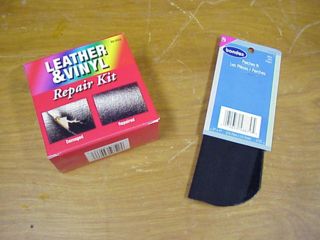
The iron on patch is the Bondex brand, sold at Walmart in the fabric department. It's a nice, tight weaved, black cloth with heat activated backing. Costs a whopping $1 for two good sized patches. The vinyl repair kit comes from (don't laugh) "As Seen on TV." I had called around to several hardware, fabric and discount stores. No one carried anything like this product. Fortunately, we have a mall nearby with an "As Seen on TV" store, and they carried a couple of different kits. This one retailed for $16.
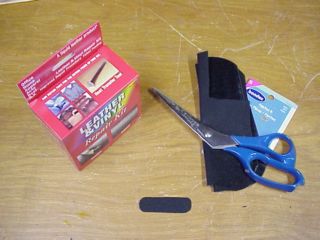
I cut a rectangle with rounded corners to fit over the tear from the inside. Rounding the corners makes for a neater patch, and less likely to start detaching at the edge.
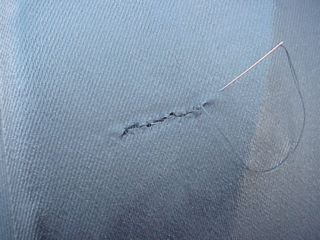
For once, I'm glad I payed attention in home economics. I can sew without severing or impaling any important body parts. In order to minimize the gap left by the tear, and firm the surface, I sewed the tear nearly closed with a fine needle and black thread.
I positioned the adhesive cloth patch with some scotch tape to hold it in place while ironing. A small hobby iron is worth it's weight in gold for this type of work. Working with a standard household iron, getting the tip up against the patch required a great deal of patience.
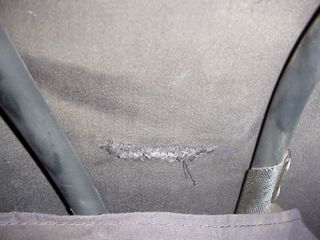
After the adhesive fabric patch was firmly in place, I used an X-acto knife and carefully cut away the stiching, working from the outside. While the stitches added strength to the repair, they would have shown up in the vinyl texture. Here's the tear, backed with a patch, stitches now removed.
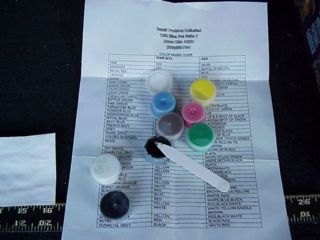
The vinyl repair kit comes with seven base colors, and a handy color chart for mixing. Approximately one part white to seven parts black gave a nice approximation of the charcoal color of the Spyder's top.
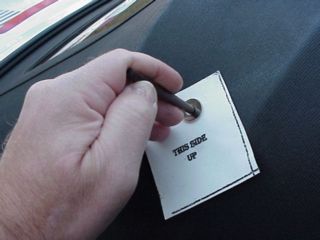
The raw vinyl mix is very similar in texture to modelers glue. The idea is to fill in the depressions in the repair, with a very thin layer overlapping the edges of the repair, and then lay the closest matching texture paper from the repair kit over the repair area and heat with an iron. The heated mixture cures to a flexible vinyl consistency, hopefully somewhat close to the texture of the part being repaired.

I found that my first repair was a bit too sloppy, so I gently carved away some of the repair vinyl with a knife tip, repatched, reheated, and then burnished the repair with some extra fine (0000) steel wool to knock down the raised edges. Getting a good repair takes some practice. The texture papers supplied with the repair kit were not a great match for the pattern on the Spyder's top. A more comprehensive vinyl repair kit like those used by a pro would include many more textures. However, such kits cost hundreds of dollars and require some experience to use effectlively. For a grand total of $17 and about an hour's worth of effort, I think this repair is very passable.
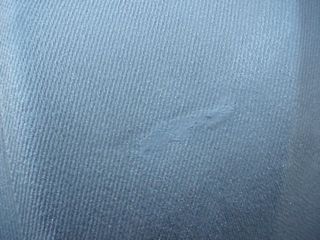
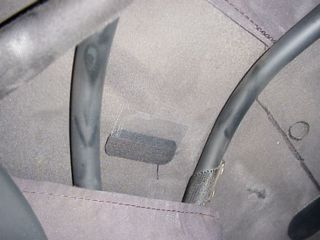
Side by side of the tear and the repair:
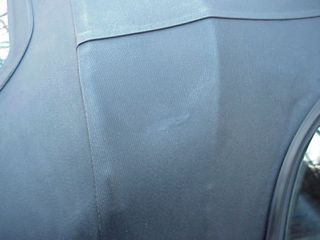
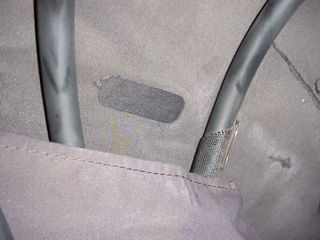
While the repair is not perfect, it's a dramatic improvement over the tear. The wind noise from the tear is gone. The cover is weatherproof again, and unless you are looking for it, the repair doesn't catch your eye. After the curing, I opened and closed the top several times to be sure the repair flexed as needed without coming apart. Here's one more look, close up.